Using New API with Codex
Install Codex
bash
pnpm install -g @openai/codexbash
npm install -g @openai/codexbash
yarn global add @openai/codexConfigure Environment Variables
- Visit https://model.imkk.us/console/token to get your API Key
- Set system environment variable, variable name
NEW_API_TOKEN, value is the value you just applied for (Environment Variable Setup Tutorial) - Create
~/.codex/config.tomlfile and add the following configuration
toml
model = "gpt-5"
model_provider = "openai-chat-completions"
preferred_auth_method = "apikey"


[model_providers.openai-chat-completions]
name = "OpenAI using Chat Completions"
base_url = "https://model.imkk.us/v1"
env_key = "NEW_API_TOKEN"
wire_api = "chat"
query_params = {}
stream_idle_timeout_ms = 300000- Create
~/.codex/auth.jsonfile and add the following code
json
{
 "OPENAI_API_KEY":"Replace here with your applied KEY"
}
Direct Launch and Use
After configuring the environment variables, use the terminal to open the project directory you want to work with, then run the following command to start Codex:
bash
# Enter the project directory
cd my-project

# Directly start OpenAI Codex
codex
Using in VSCode with Codex
Refer to the above instructions to install Codex and configure environment variables and configuration files.
Open VSCode and install the Codex Extension.
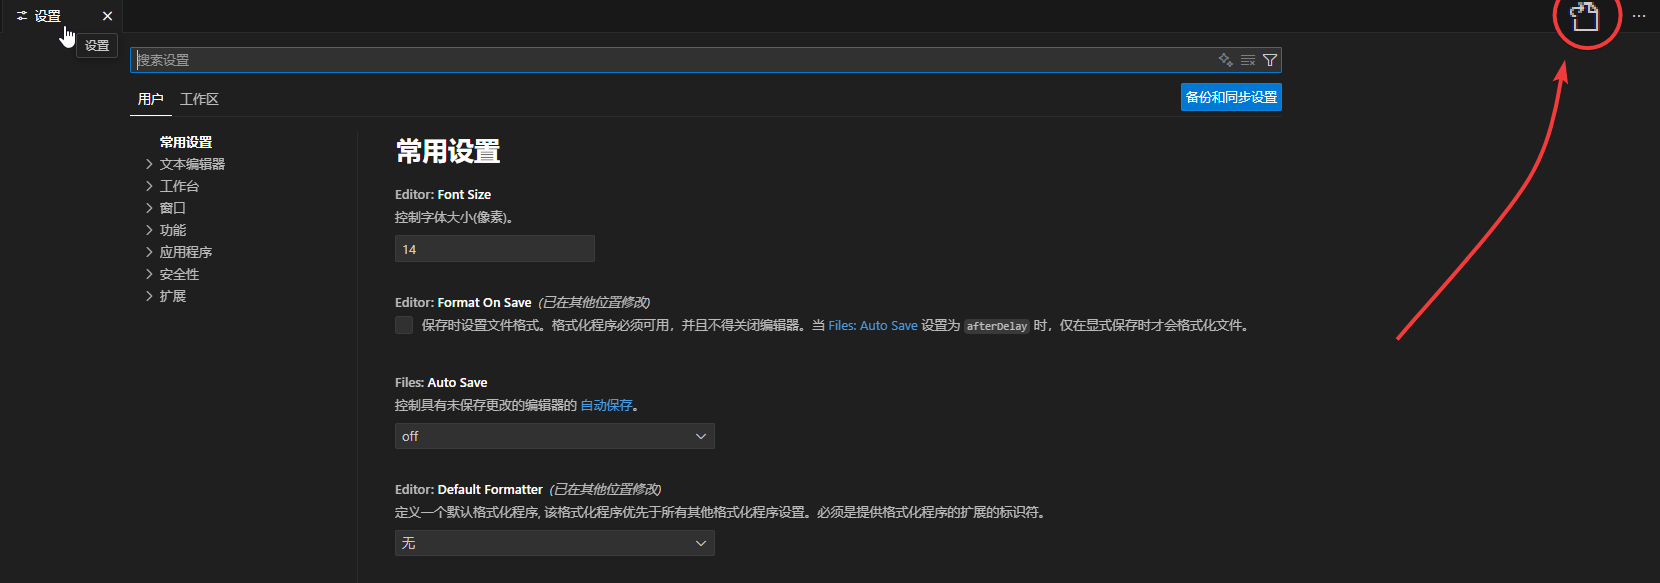
Go to settings and click the top right corner to switch to JSON configuration mode
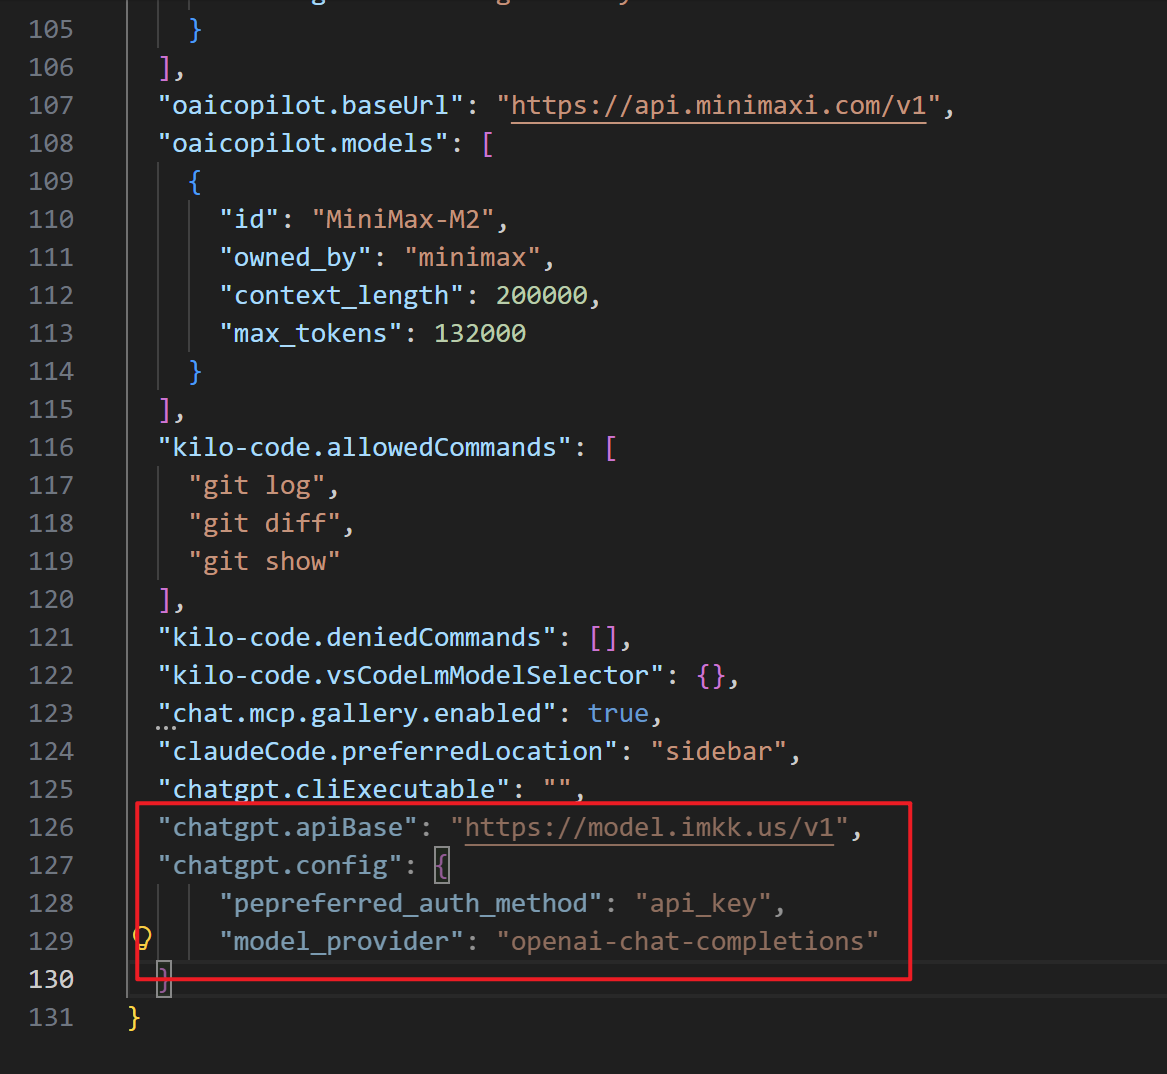
- Add the following configuration items
json
"chatgpt.apiBase": "https://model.imkk.us/v1",
"chatgpt.config": {
    "pepreferred_auth_method": "api_key",
    "model_provider": "openai-chat-completions"
}
- Click the Codex icon to start using